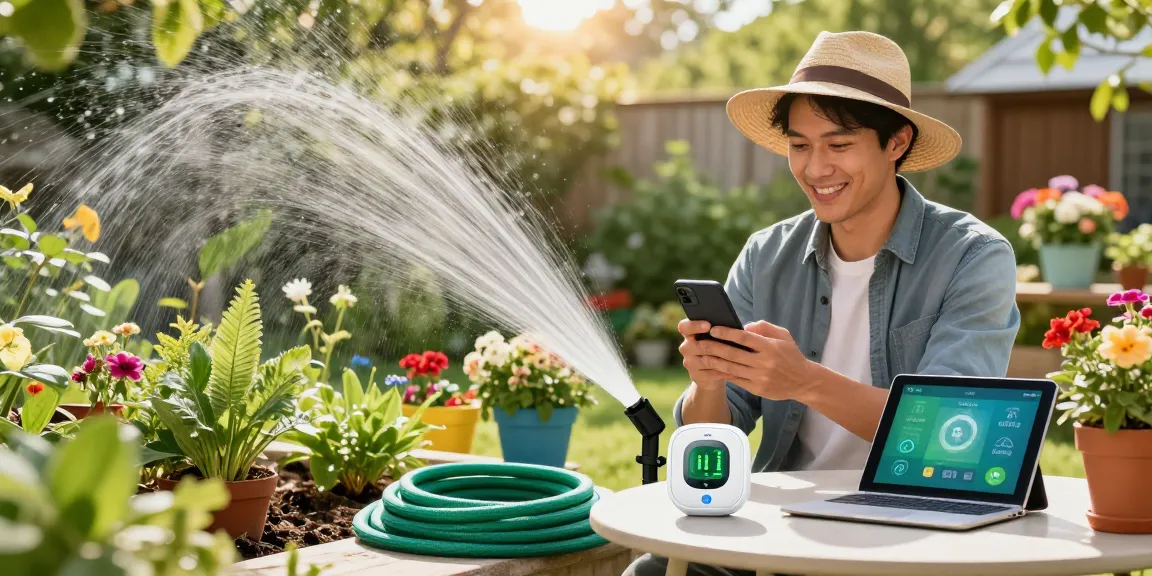
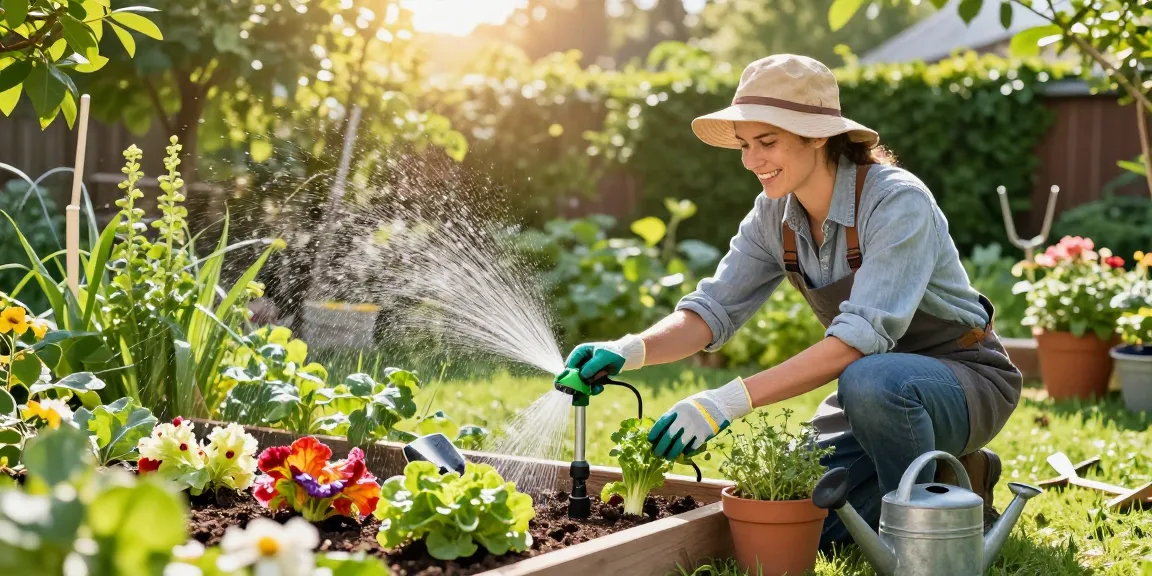
When Sarah noticed brown patches forming near the sprinkler heads on her suburban Kansas lawn, she assumed the system needed higher pressure. After weeks of shorter run times and still-thin grass, she discovered the real problem: overspray onto sidewalks and run-off into gutters. For homeowners like Sarah, targeted drip irrigation fixes the problem by delivering water where roots actually need it, not wasting it on pavement.
Identify Your Watering Challenge and Pick the Right Drip Setup
Start by naming the specific challenge: is water running off slopes? Are sprinkler heads soaking sidewalks? Do potted herbs dry out between waterings? Each issue matches a different drip solution. Think of RainPoint as a scenario irrigation expert that helps pair a yard’s need with the correct system—small beds usually need soaker lines or micro-spray heads, while vegetable rows benefit from inline drip tubing.
Common problems and the matching drip fix
- Run-off on slopes — use pressure-compensating emitters and low-flow drip lines to slow application and improve infiltration.
- Overspray and wasted sidewalks — replace fixed spray heads with drip lines or micro-sprays focused on the planting bed.
- Patchy soil moisture in vegetable rows — install inline drip tubing with 12" emitter spacing for consistent root watering.
- Potted plants that dry out — try self-watering stakes or small drip rings that meter water directly into the potting mix.
Concrete example: On a 30' long raised vegetable bed, switching from a 12-minute morning sprinkler cycle to a 20-minute inline drip run (1 GPH emitters at 12" spacing) reduced visible surface runoff and kept soil moisture steady at 6–8" depth—prime for tomatoes. For reference, the EPA notes that efficient irrigation technologies can significantly lower outdoor water use, and smart controllers alone can save thousands of gallons annually for an average household (see EPA WaterSense) [EPA WaterSense].
Step-by-Step: Installing a Basic Drip System for Beds and Veggies
This section walks through an easy drip installation for a typical 4' x 20' vegetable bed. You’ll learn what to buy, how to lay it out, and how to tune the schedule so you stop wasting water.
Materials and tools
- 1/2" main drip tubing (20–25 feet)
- Inline drip tubing with built-in emitters (12" emitter spacing)
- Barbed fittings, end caps, and pressure regulator (to reduce household pressure to 15–25 PSI)
- Backflow preventer and filter (to protect the supply and keep emitters clear)
- Hole punch and stakes
Installation steps
- Shut off the water, attach a backflow preventer and filter to the supply spigot, then install a pressure regulator set to 20 PSI.
- Run 1/2" main tubing along the length of the bed and secure it with stakes every 2–3 feet.
- Use the punch to add short feeder lines and connect inline drip tubing so emitters run beside each plant row.
- Cap the ends, flush the system briefly, then check each emitter for steady drips—clear blockages if needed.
- Set your control schedule: shorter, more frequent cycles early in the season; longer, less frequent deep-watering once plants are established.
Real example: A 4' x 20' bed with three rows of drip tubing (12" emitters) using 1 GPH emitters can provide roughly 3 gallons per hour per row. Running that for 2 hours twice a week equals about 36 gallons weekly—far less than a similar-sized area under a spray system. If you want to read more about system impacts, you can learn how drip irrigation reduces water waste with step-by-step tactics tailored to beds and borders.
Scheduling and Tuning: How to Water Less but More Effectively
Saving water is mostly about timing and rate. Drip systems are low-flow by design, but they still need schedules matched to soil type, plant stage, and season. Start by measuring your soil’s infiltration rate: push a 6" stake in the soil and time how long it takes to wet that depth with a known flow; clay needs slower application and longer soak times than sandy soil.
Sample weekly schedule table
Soil TypeEstablishment Phase (first 2–3 weeks)Established PlantsSandy3 x 20 min/day2 x 30 min/weekLoam2 x 30 min/day2 x 45 min/weekClay4 x 15 min/day3 x 45 min/week
Example figure: A midwestern homeowner with loam soil reported that switching to two 45-minute drip runs per week for an established flower bed maintained healthy blooms while cutting water use by roughly 40% compared to prior spray schedules.
To tune your schedule: run the system, wait 24 hours, then dig a small hole to see wetting depth. Aim for 6–12" depth for most ornamentals and vegetables. If water collects on the surface, shorten your cycle and add a second run later to let it infiltrate. Using a WiFi timer such as a RainPoint model lets you set multiple short cycles (morning and evening) automatically—handy when temperatures spike or rain is forecast.
Advanced Tips: Combining Drip with Smart Controls and Mulch
Once the physical system is in place, combine simple practices to cut waste further. Mulch and smart timers are powerful partners: organic mulch reduces evaporation by 30–50% and keeps soil temperatures stable; a smart controller prevents unnecessary runs after rain events.
Practical pairings and examples
- Mulch 2–3" around beds to reduce frequency by an estimated 25% in summer.
- Install a rain sensor or a smart WiFi timer to suspend irrigation during storms—EPA WaterSense projects that smart controllers can save 20–30% of outdoor water when properly managed.
- For container gardens, use slow-drip emitters or gravity-fed self-watering systems so pots aren’t routinely over-watered. A small basin emitter delivering 0.5 GPH for 1 hour every other day keeps a 5-gallon pot consistently moist without waste.
Scenario: A homeowner with a large mixed yard paired in-ground drip for beds and a RainPoint WiFi controller for the front lawn. That combination allowed seasonal adjustments from a phone and prevented a weekend watering event after a storm—estimated savings of several thousand gallons across a summer.
If you’re choosing components or want help matching the right setup to a specific yard, a WiFi timer from RainPoint can handle zoned schedules and keep each area—from potted herbs to big turf strips—on the optimal cycle.